Appearance
How to Take Minutes in Our Cat Herder
Our Cat Herder offers two minute taking modes and allows a variety of different users to add minutes in a meeting.
Video
Steps
1. Navigate to Meetings
- Navigate to the 'Meetings' section.
2. Select a Meeting
- Choose the specific meeting for which you will take minutes.
3. Access Minute Taker
- Click on 'Manage'.
- Select 'Take Minutes' to access the Minute Taker.
4. Edit Minutes for Agenda Items
- Click 'Edit Minutes' on the right side of the desired Agenda item.
- Enter the minutes for that specific item.
- Click 'Save' to store the minutes.
5. Expand Items for Sub-Agenda Minute Taking
- If using a collapsed view, expand the items to take minutes for sub-agenda items.
- Click 'Edit Minutes' for the sub-item, enter minutes, and click 'Save'.
6. Use Rocket Minute Taker for Live Minutes
- Click the rocket icon for the live minute-taking mode.
- Navigate through items using 'Next' and 'Previous' buttons.
7. Insert Attendance
- Use the attendance feature to grab responses from current attendees.
- Type '@' to add individuals not on the list.
8. Add Actions During Minute Taking
- Select 'Add Actions' to create action items.
- Fill in required fields such as status and due date.
9. Update Actions as Needed
- Click 'Edit' to modify any action items.
- Click 'Update' to save changes.
10. Permissions for Minute Taking
- Ensure that the person taking minutes is a portal admin, meeting creator, or chairperson.
- Check if invited attendees have been granted minute-taking permissions.
11. Update Minute Taker Status
Note: you cannot change an attendee's role from Manage → Invite Attendees. Instead, open the meeting and go to the Attendees tab. From there you have two options:
- Drag and drop — click and drag the attendee into the relevant column (Minute Taker, Attendee, or Viewer). They will be updated within half a second.
- Edit — click the Edit (pencil) icon next to their name, adjust the type, then click Save.
Granting Minute Taker Access to Staff Members
If you have added members with the Staff role and want them to take minutes for a meeting, you need to:
- Invite them to the meeting — Staff members can only see meetings they have been invited to.
- Open the meeting and go to the Attendees tab.
- Either drag the staff member into the Minute Taker column, or click the Edit (pencil) icon next to their name, change the type to Minute Taker, and click Save.
Once granted minute-taker status, the staff member will be able to access the minute-taking tools for that meeting.
Who Can Take Minutes?
By default, only portal admins, the meeting creator, and the chairperson can take minutes. All other attendees — including Staff — need to be explicitly granted minute-taker permissions using the steps above.
Getting Attachments onto the Agenda from Other Contributors
If managers or other staff members need to contribute attachments to a meeting but you want to control what appears on the agenda, there are two approaches:
Option 1: Contributors Create a Meeting Paper
If the contributor is invited to the meeting, they can create a Meeting Paper for the meeting. However, they cannot add attachments to agenda items directly — only portal admins, the meeting creator, chairperson, or attendees set as Minute Taker can do that.
If you need a contributor to upload attachments directly to the agenda, invite them to the meeting and set them as Minute Taker using the steps above.
Saving Draft Minutes and Notifying Attendees
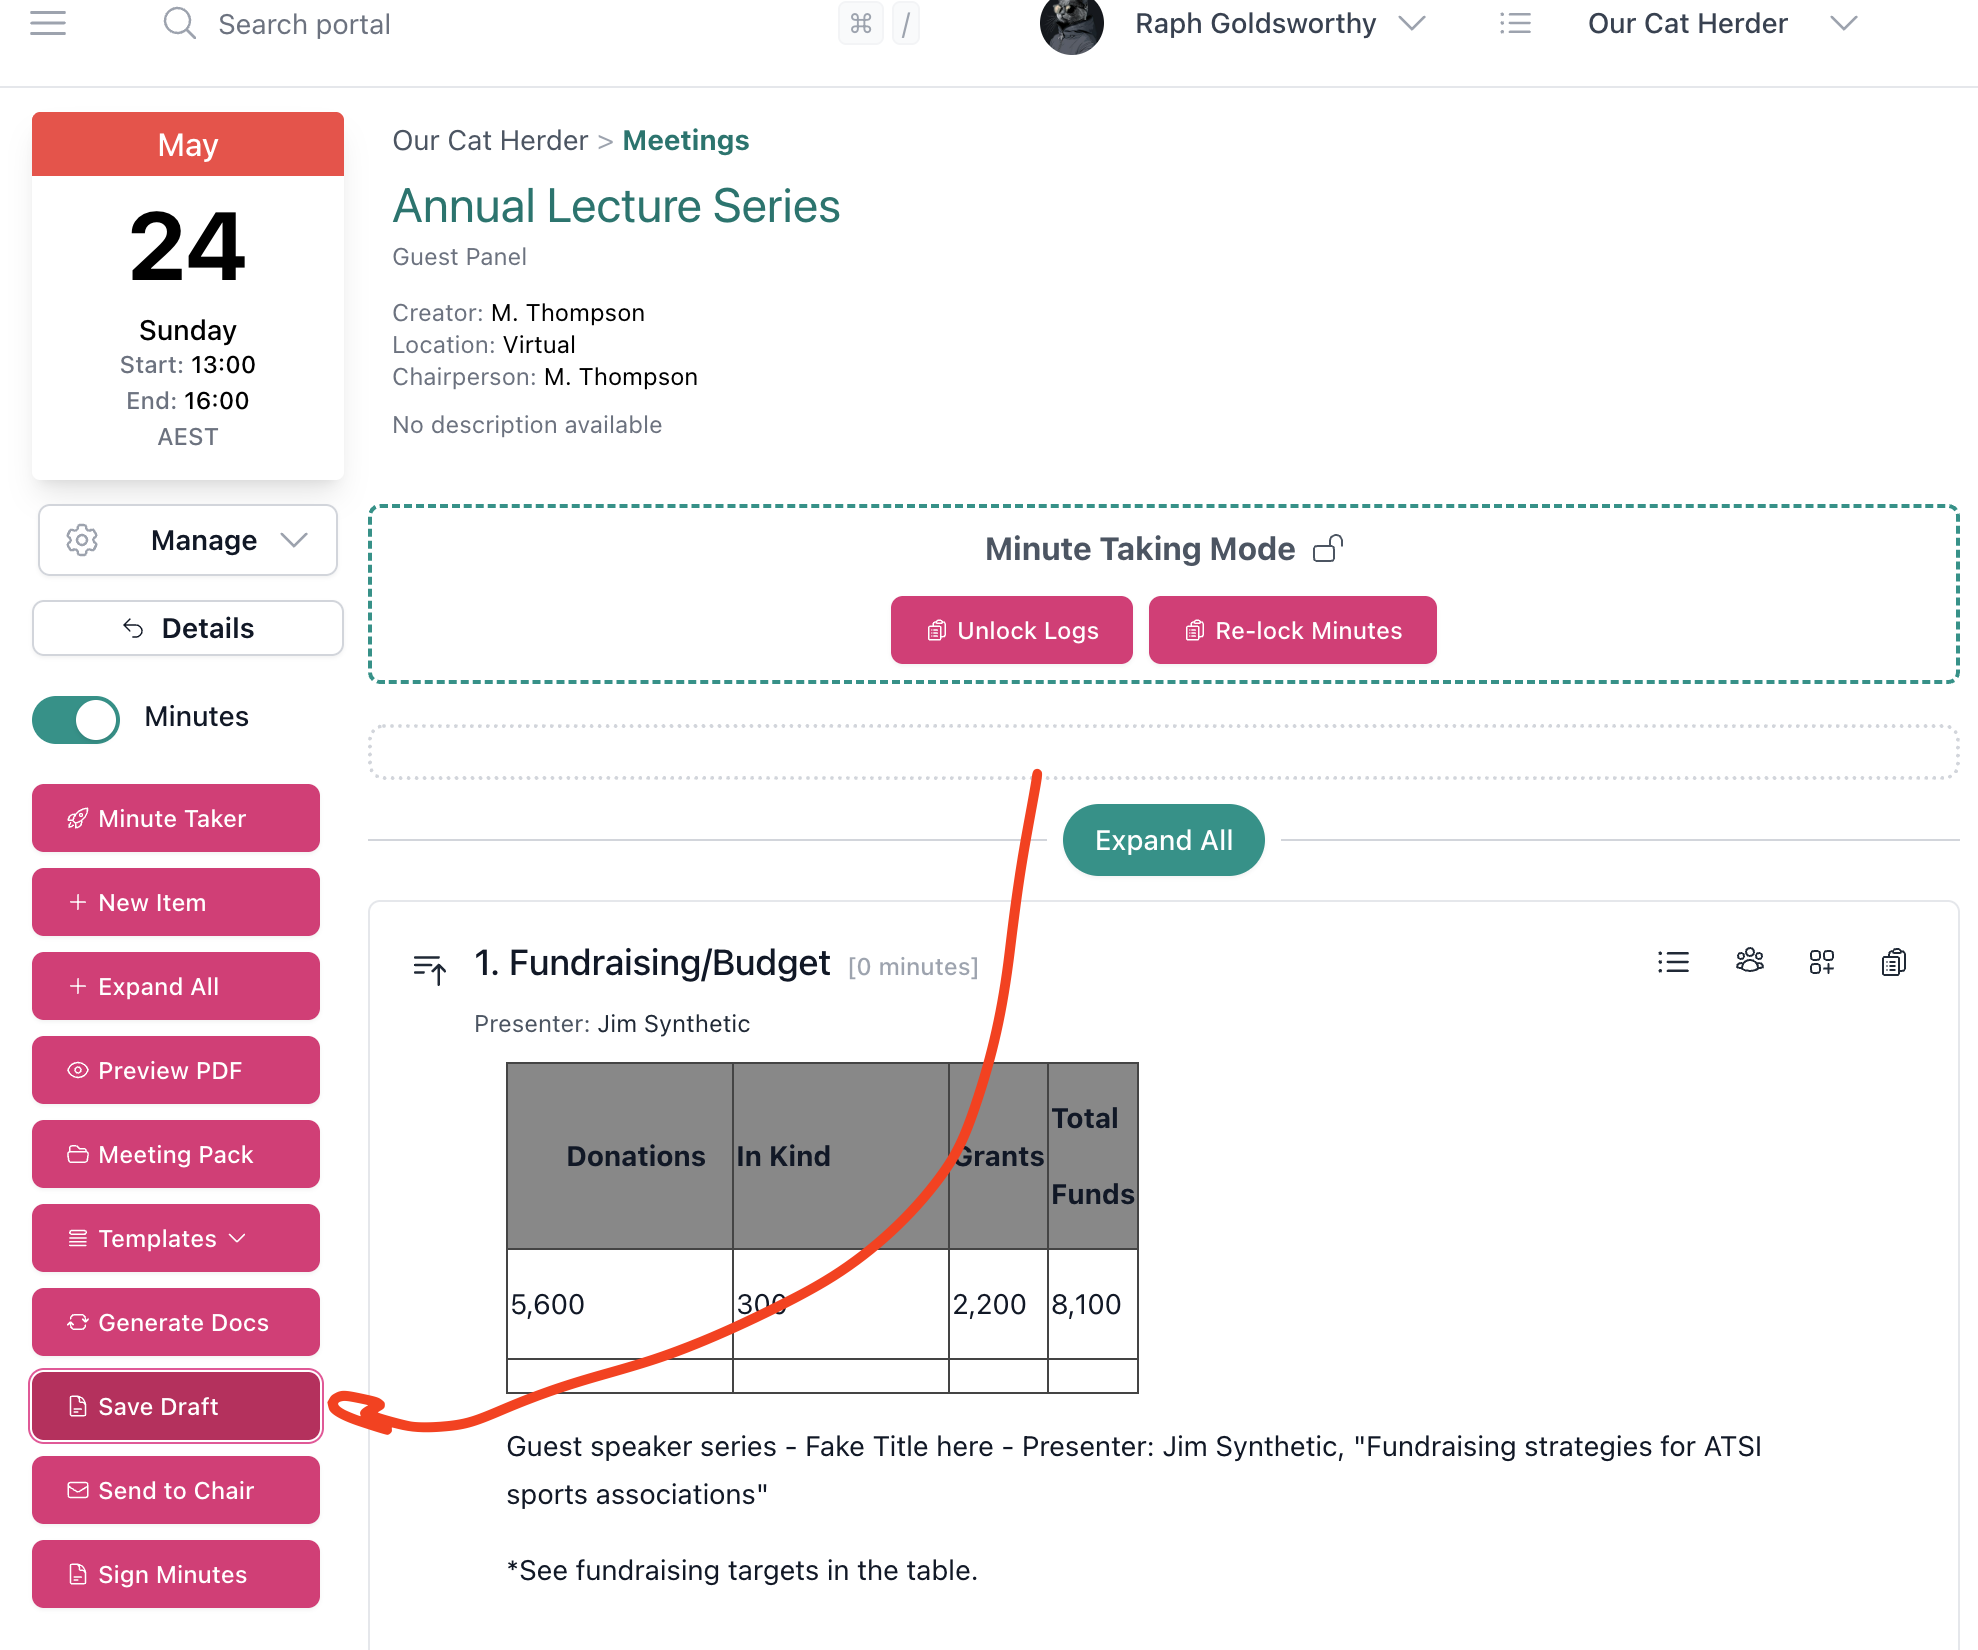
While taking minutes, you can save a draft and optionally notify selected attendees that the draft is available. This is useful when you want attendees to review minutes before they are sent to the chair for formal sign-off.
- Click the Save Draft button in the left sidebar while in minute-taking mode.
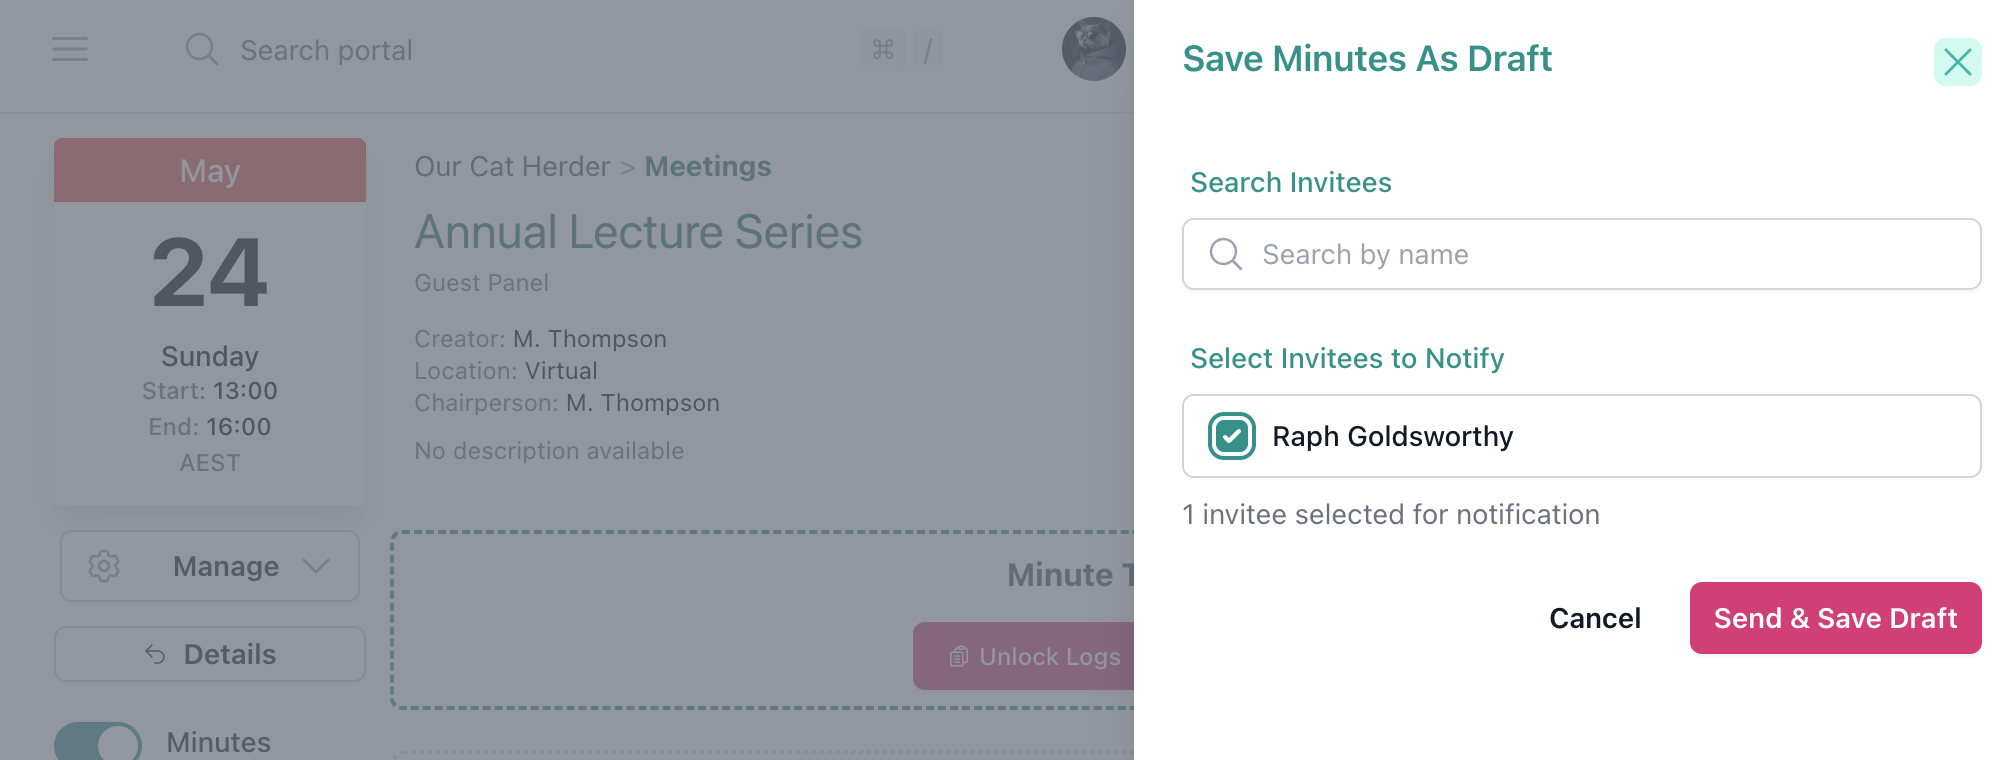
- A dialog will appear allowing you to select which invitees should be notified by email.
- Use Search Invitees to find specific people, or select the attendees you want to notify.
- Click Send & Save Draft to save the minutes and send the notification, or Cancel to save without notifying anyone.
Other Ways to Notify Attendees About Minutes
You can also notify attendees about minutes using the Discussion tab on the meeting. Any comment posted on the meeting's Discussion tab sends a notification to all meeting attendees. This is useful for sharing context or highlighting key points alongside the minutes. See Communicate Post-Meeting Follow-Ups for more detail.
Option 2: Contributors Upload to Documents, Minute Taker Attaches to Agenda
- Create a shared folder in Documents and grant the relevant contributors access to it.
- Contributors upload their files to that shared folder.
- The minute taker or admin opens the meeting's agenda builder.
- On the relevant agenda item, use Choose Internal File to browse the Documents area and attach the file to the agenda item.
This approach gives the minute taker full control over which attachments appear on the agenda and where they are placed.