Appearance
Managing Portal Members
As an Admin the Members page is where you can manage who can access your portal.
Other members can use it to view who is on the portal.
Access Members
To access member management, choose Members from the left-hand menu (or press G 2 on your keyboard).
Members
Members are people who will be given a login and password to access your Our Cat Herder portal.
You will be asked to assign them a role as part of this process.
For more information, see how Roles work.
Adding a Member
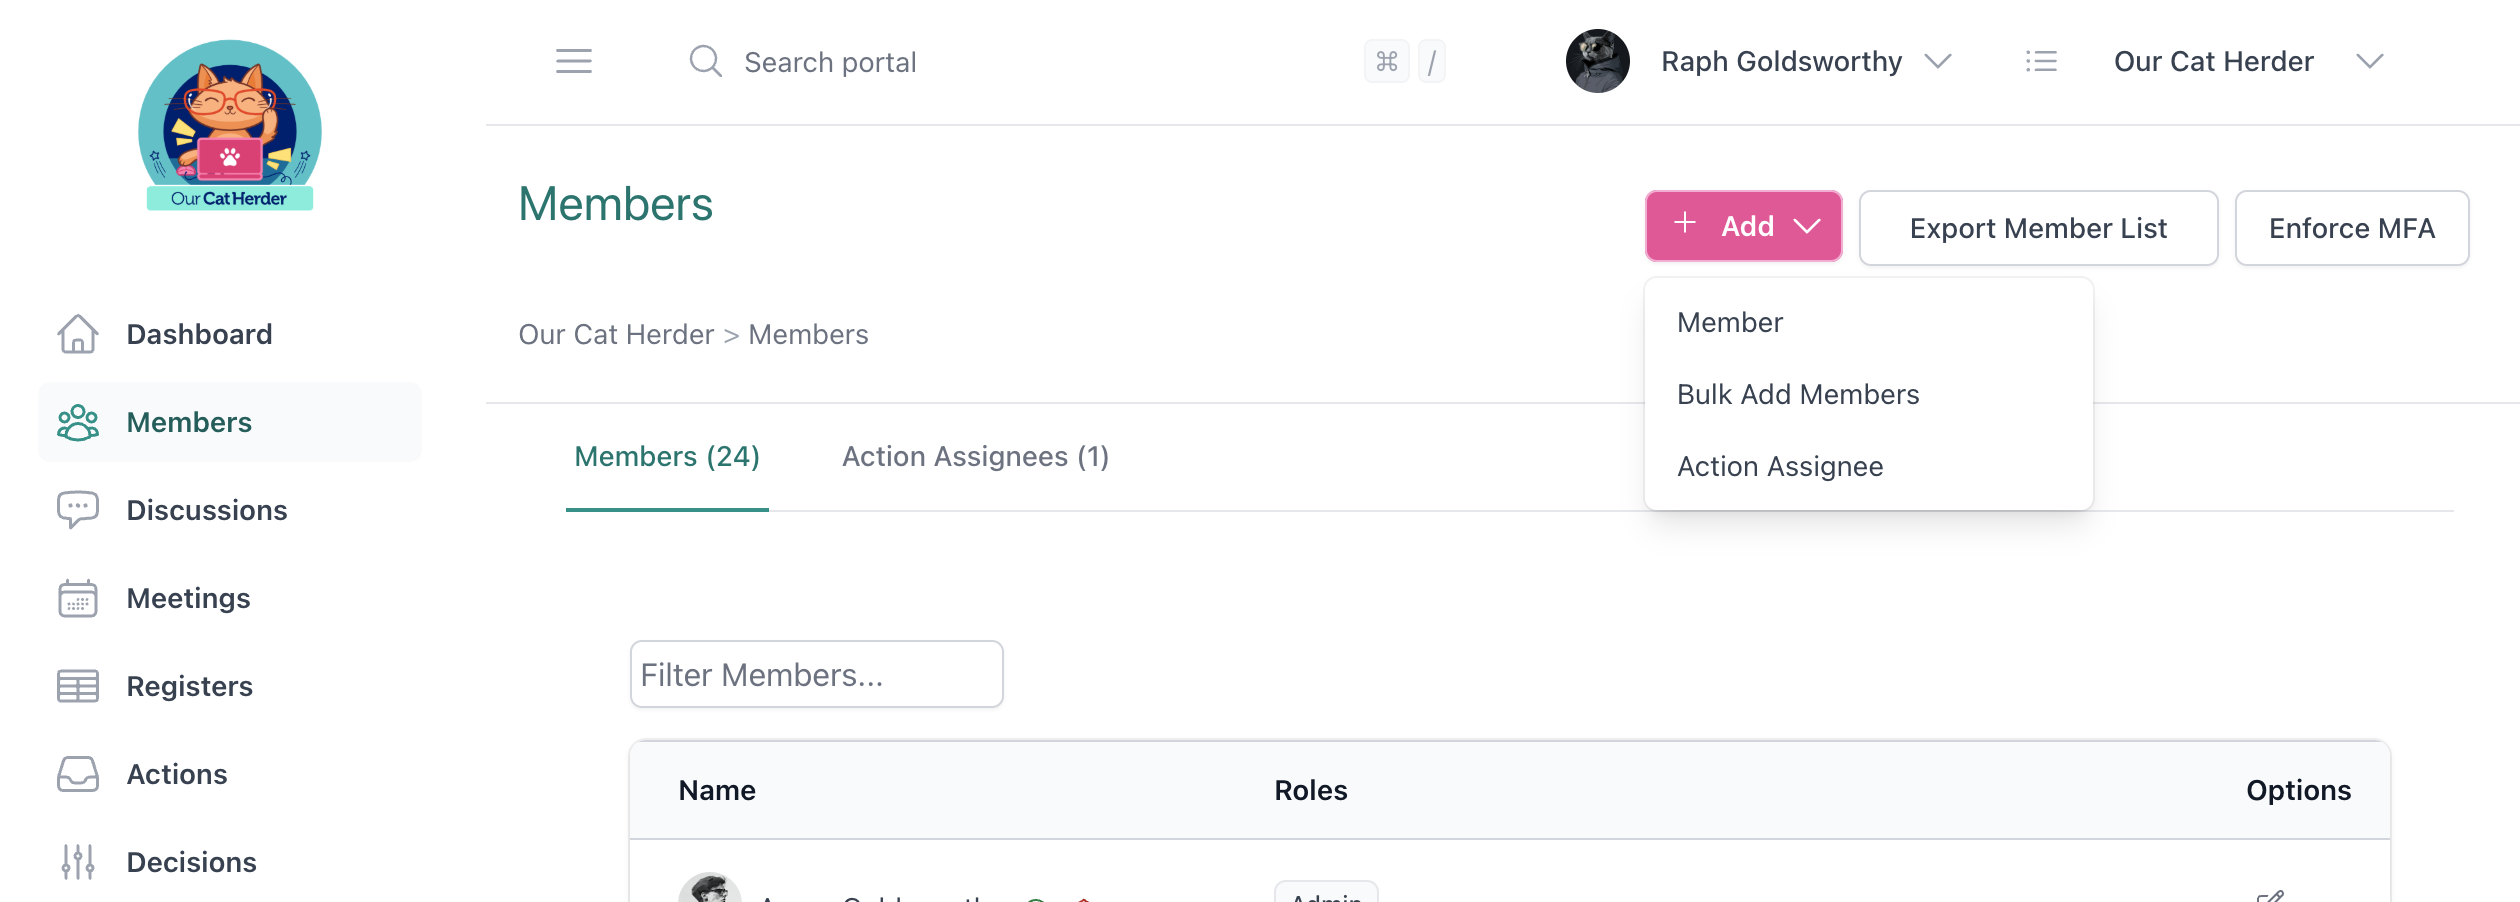
- Click Add at the top of the Members page, then select Add Member
- Enter the person's email address and click Next
- Fill in their title, first name, last name, and phone number
- Choose a role (see recommended role setup)
- Click Invite
The new member will receive an invitation email to activate their account.
Re-adding a Previously Removed Member
If you enter the email of someone who was previously on your portal, the system will recognise them as an existing user. You simply need to assign them a role to re-add them — their account details are preserved.
Member Status Icons
On the members list, you'll see status icons next to each member:
| Icon | Meaning |
|---|---|
| Orange dot | Account activation pending — they haven't set up their account yet |
| Green dot | Account activated |
| Red shield | MFA not enabled (account is activated but multi-factor authentication is off) |
| Green shield | MFA enabled |
Resending Invitations
If a member hasn't activated their account, you'll see an envelope icon next to their name. Click it to resend the activation email.
Members who have already activated their account can reset their password via the Forgot Password link on the login page.
Member Profile
Click on a member's name to view their profile. As an Admin you can:
- View and update their email address
- View their activity log (last 90 days)
- Set a member term (start and end date) — this is for record-keeping only and does not affect portal access
- Add or remove roles
- Send a password reset email
- Edit their profile picture (only after they've activated their account)
- Remove them from the portal
Updating Member Names
Admin users can update a member's name only until the member activates their account. Once activated, the member must update their own name via My Details in their profile.
Removing a Member
You can remove a member by:
- Clicking Remove on their profile page, or
- Removing their last role (the system will confirm removal)
Removing a member disassociates them from the portal — they can no longer log in. However, their historical data (meeting attendance, actions, etc.) is preserved for audit purposes.
Exporting Members
Click Export Member List on the Members page to download a CSV file with member names, details, roles, and member terms.
Action Assignees
The Action Assignees tab on the Members page is for people who need actions assigned to them but should never access your portal.
Common examples include:
- External advisors or consultants
- Staff members who don't need portal access
- Third-party service providers
How Action Assignees Work
- They cannot log into your portal
- They can receive email notifications when actions are assigned to them
- They appear as assignable people when creating or editing actions
- You only need to provide their name, email, and optionally a phone number
Adding an Action Assignee
- Click Add at the top of the Members page, then select Add Action Assignee
- Enter their first name, last name, email, and phone number (optional)
- Save
They will now appear as an option when assigning actions throughout the portal.
Members vs Action Assignees
| Members | Action Assignees | |
|---|---|---|
| Can log into the portal | Yes | No |
| Can attend meetings | Yes | No |
| Can participate in discussions | Yes | No |
| Can be assigned actions | Yes | Yes |
| Receive action notifications | Yes | Yes |
| Count towards your portal member limit | Yes | No |