Minutes
The minute taking functionality in Our Cat Herder allows you to record the minutes of your meetings.
Access minute taking for a specific meeting by visiting Meetings link in the left hand green menu, choosing the meeting your require by clicking the meeting name then clicking the Minute Taker button.
This will take you to the Edit Meeting Minutes, this page will look similar to the Agenda Builder page for that meeting since it loads the same agenda structure you have set up via the Agenda Builder for that meeting.
Purpose of Meeting
You can record extra details such as the purpose of meeting, important notices and other details that you need to appear on the Agenda/Minutes using the text box at the top of the Edit Meeting Minutes page.
Preview Minutes PDF
The Preview Minutes PDF button allows you to preview what the final Minutes PDF will look like.
Taking Minutes
You can take minutes against any agenda item listed. But clicking the edit icon to the left of the Agenda item name.
Once you click the edit icon a modal will appear where you can record minutes.
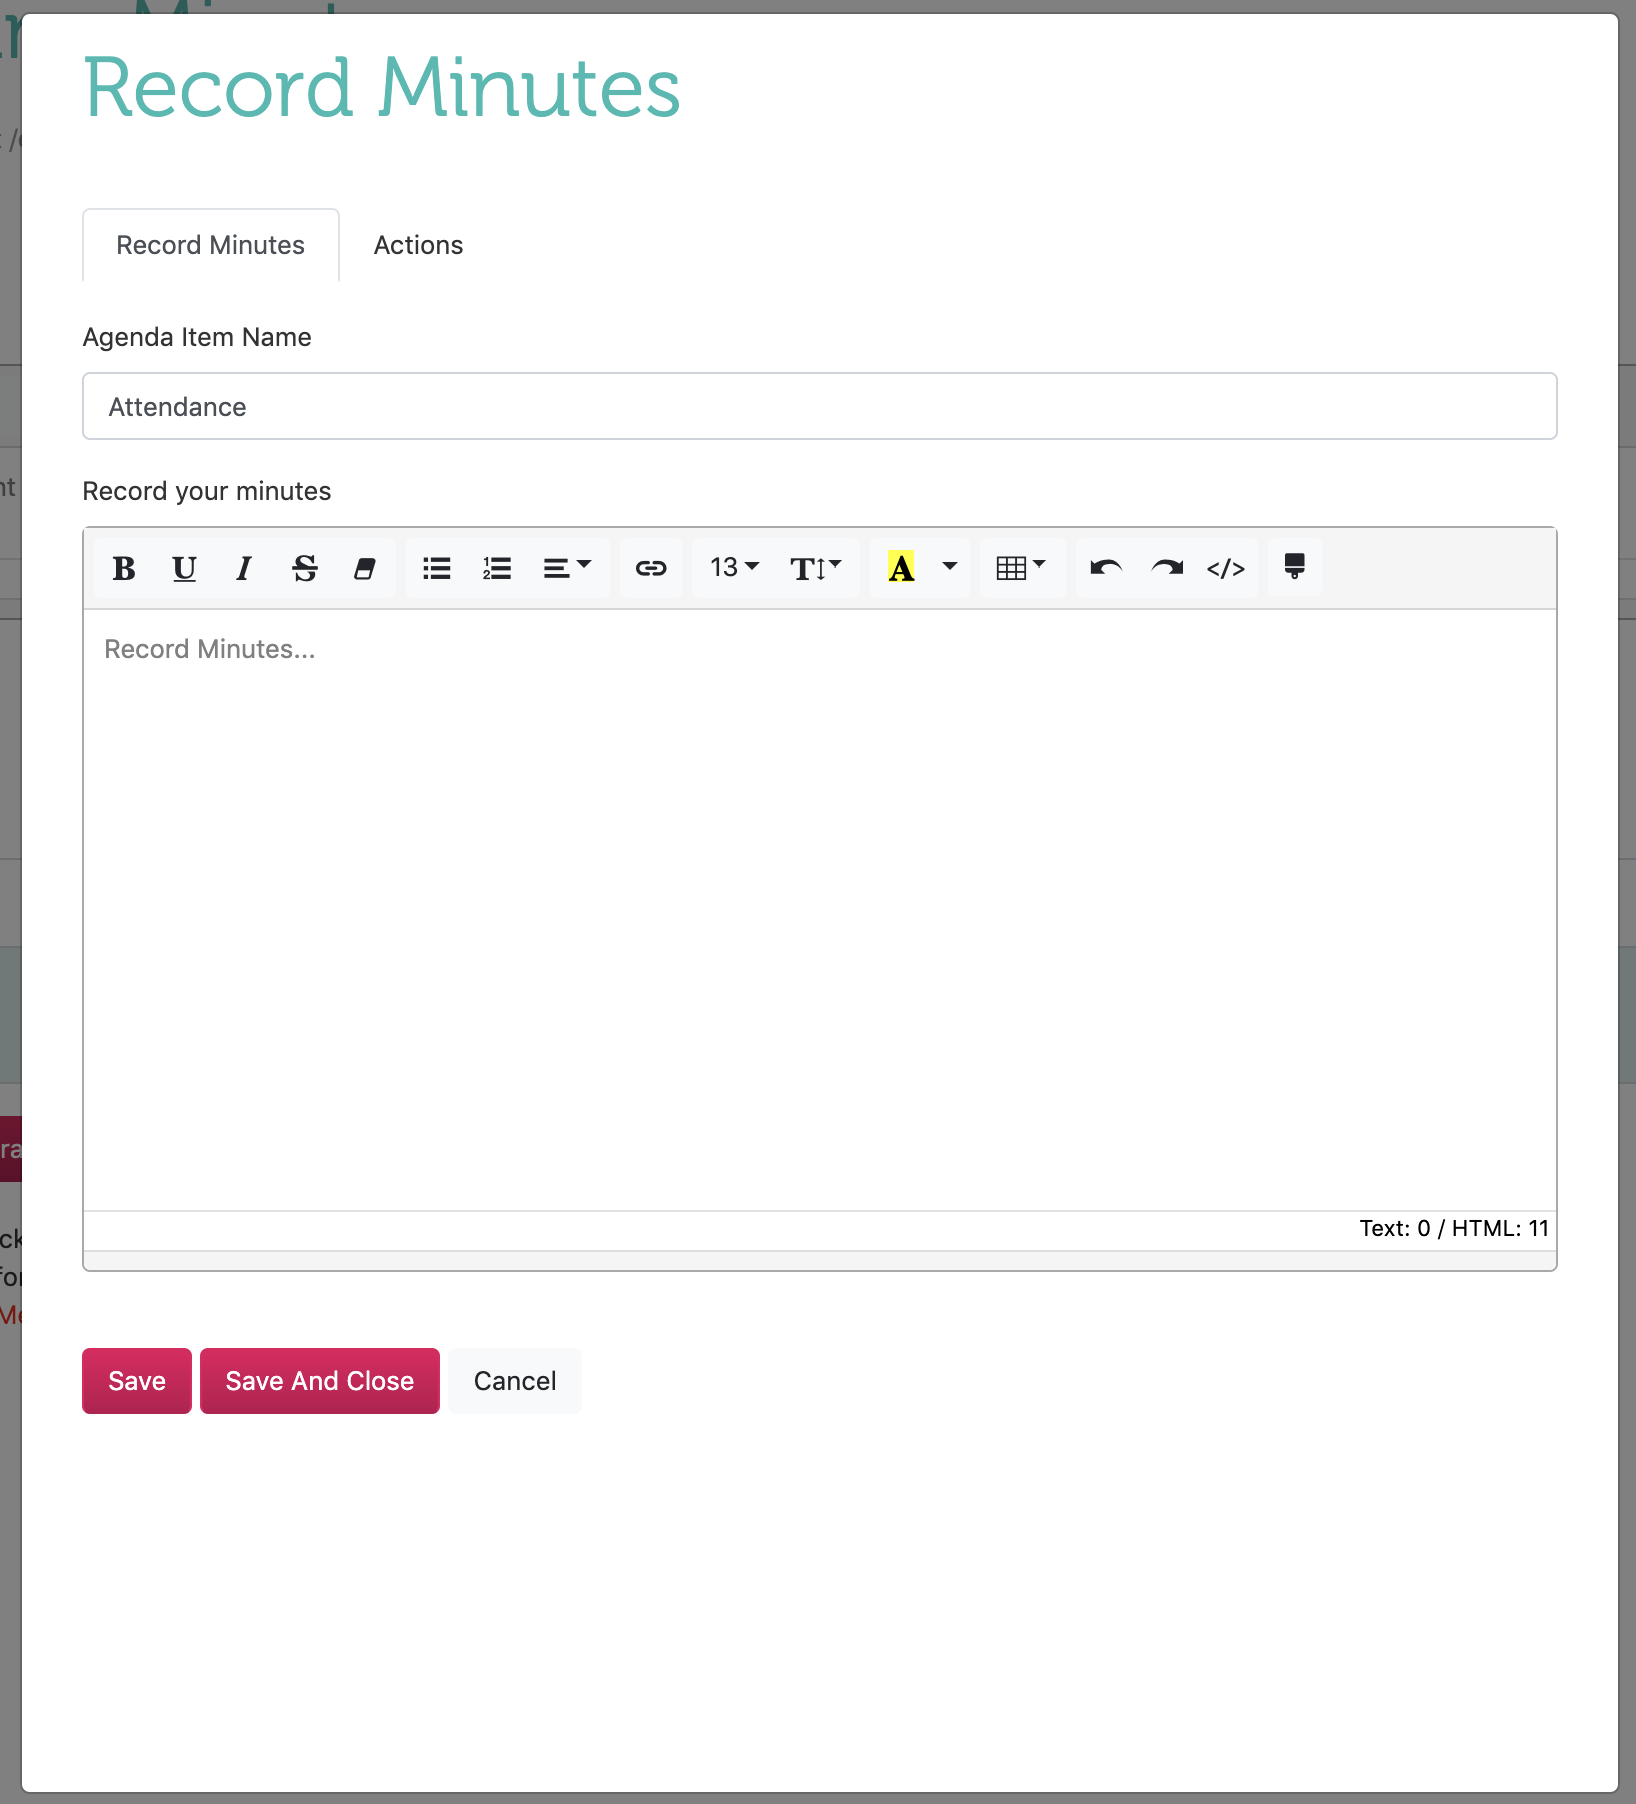
Agenda Item Name
If required you can update the agenda item name using this field.
Record your minutes
The record your minutes offers a variety of text formatting options.
- Bold
- Underline
- Italic
- Strike through
- Remove Font Style
- Unordered List
- Ordered List
- Paragraph
- Align Left
- Align Center
- Align Right
- Justify Full
- Outdent
- Indent
- Link
- Font Size
- Line Height
- Background and Foreground colour
- Table
- Undo
- Redo
- Code View
- Cleaner
Quick Access to member names
You'll often need to type a meeting attendees name into your minutes. The minute taker modal has a quick access to your member list.
You can access the member list simply by typing the first letter of the persons name. Please note this is case sensitive. So if the member has been added as "member a" rather than "Member A" then you would need to type the first letter of their name as m rather than M to get the quick list to appear. Once the list appears simply select their name and it will autofill the full name into the minutes.
Saving your Minutes
Once you have recorded your minutes click Save or the Save and Close button.
If you click the Cancel button this will close the modal, but changes made in the past 60 seconds will not be saved.
Minutes auto-save
If you are using the latest version of Firefox, Google Chrome or Edge then auto-save is enabled for the minute taking modal. The auto-saves every sixty seconds from when you load the minute taking modal.
You should not rely solely on the auto-save function. It is intended more as a backup.
When taking minutes we recommend you save regularly using the Save button.
Actions Quick Access.
From the minute taking modal you can also quickly access the actions assignment area so you can assign actions against that agenda item. At the top of the minute taking modal you will see two tabs "Minutes" and "Actions".
Simply click "Actions" and you will now be able to assign actions against this agenda item. Click here for more details on assigning actions.
Save as Draft
The Save as Draft button, marks the minutes for the meeting as "Draft".
Generate Documents
The Generate Documents button recreates the folder (stored in the Meetings Archive in the Documents area of your portal) for this meeting.
Send to Meeting Chair
The Send To Meeting Chair button starts off a workflow that allows the meeting chair to sign off the minutes for the meeting.
For specific details on the Send to Meeting Chair workflow click here.
Updated: 5 May 2020